Connection Guide

Contents
This quick start guide will get you connected with ViA in mono or stereo in just a few minutes. The codec is configured to connect in mono over IP by default when shipped, or when factory default settings are restored.
1.Ensure the codec is not powered up when inserting or removing modules.
2.Attach the 12VDC power supply to the codec or insert the charged BATTERY. Note: the BATTERY is automatically charged inside the codec when the power supply is connected.
3.Attach headphones and microphones to the codec.
4.Press the POWER ![]() button to power up the codec.
button to power up the codec.
5.Press the INPUT ON/OFF button to turn each input on and adjust the INPUT GAIN rotary encoder for each microphone. Note: Navigate to Home screen > Audio ![]() > Inputs
> Inputs ![]() > Input Type > Gain Type to adjust coarse gain levels for each input source.
> Input Type > Gain Type to adjust coarse gain levels for each input source.
6.Follow the procedure for connecting over IP, SIP, ISDN or POTS.
|
CAUTION: DO NOT attach non-digital microphones or an AES3 source to input 1 when AES42 mode is selected, or equipment may be damaged by high voltages. |
|
Important Note: •Unused inputs should be turned [OFF] to avoid introducing noise and improve audio quality. •To load a saved program and dial, press the HOME |
|
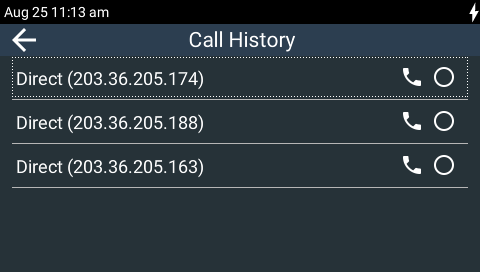
Helpful Hints: •Press the CONNECT •Swipe left once from the home screen to view programs selected as Favorites. To learn more about configuring programs as Favorites see Load, Connect and Manage Programs. •The codec remembers recent calls just like a cell-phone. To view Call History press the CONNECT
•If you don't save the program during configuration, a temporary program is created after you dial the connection for the first time. The temporary program will appear in the Call History list if you want to redial the program. |