Configuring Input/Output Settings

Contents
Click the Inputs button ![]() to view input controls available within the Java Toolbox Web-GUI.
to view input controls available within the Java Toolbox Web-GUI.
|
Important Note: 15 volt phantom power can only be supplied on the Auxiliary input; this is disabled by default. |
Configuring Input Channel Settings
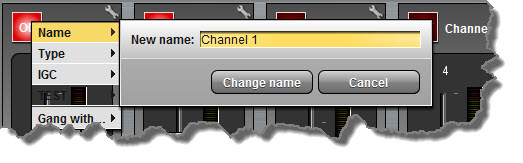
Renaming Input Channels:
1.Click the Input Settings ![]() symbol on the input channel you want to rename.
symbol on the input channel you want to rename.
2.Select Name and click in the text box to edit or enter a new name.
3.Click Change Name to confirm the name change.
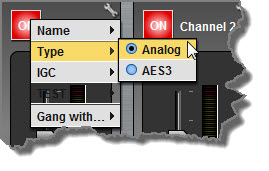
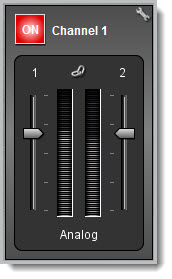
Selecting Analog and Digital Audio Sources:
Codec inputs are configured for analog high-gain mic level audio sources by default.
1.Click the Input Settings ![]() symbol.
symbol.
2.Select Type and click to select either Analog or AES3.
3.When you select AES3, the display changes to reflect 100% input levels; slider and input on/off controls are locked on.
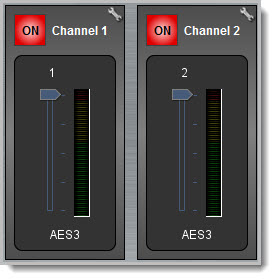
|
Important Note: Input levels can only be adjusted on analog inputs. See Configuring AES3 Input Audio for more information about the digital inputs and outputs. |
Ganging Channels:
Ganging is useful because it allows you to adjust the audio level of both inputs simultaneously.
1.Click the Input Settings ![]() symbol on either channel.
symbol on either channel.
2.Select Gang and click to either gang or ungang channels.
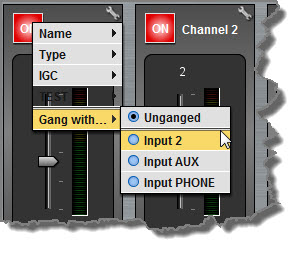
3.When ganged, the two channel sliders move in sync with each other when dragged using a mouse-pointer.
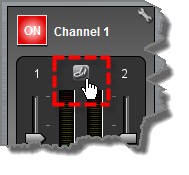
4.Click the Link symbol to temporarily disable the ganging function and fine-tune channel audio levels. Click the Link symbol again to resume ganging.
Setting Analog Audio Levels
Audio levels on the Input panel should be set to ensure audio peaks average at the first yellow indications on the PPM meters, which represents +4dBu. These levels should also be checked against the Input PPM Meters on the Master panel.
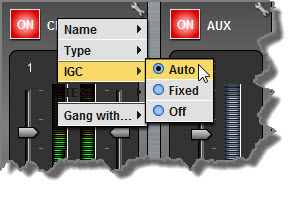
Other Input Controls
Adjust the IGC (Intelligent Gain Control) input settings to Auto, Fixed or Off as required. |
|
|
Important Note: When the auxiliary input (AUX IN) is On the default mixer configuration sends audio to all inputs. If you are not using the auxiliary input ensure it is Off to avoid additional noise in program audio. |
Locking Input Settings
1.Click the Lock ![]() symbol to lock all Input panel settings.
symbol to lock all Input panel settings.
2.When locked, the Input panel is greyed out and the lock symbol appears in the bottom-left corner. Note: this lock function does not affect the codec front panel controls.
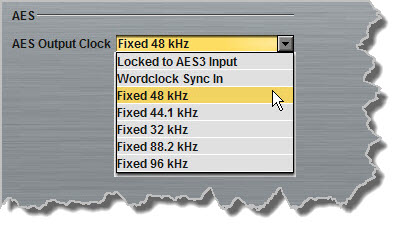
AES3 Output Sample Rate Configuration
The AES3 output sample rate can be configured using the Java Toolbox Web-GUI.
1.Open the Java Toolbox Web-GUI and click the Settings ![]() symbol at the top of the screen to open the Settings panel.
symbol at the top of the screen to open the Settings panel.
2.Click the Audio tab and use the drop-down menu to select your preferred AES Output Clock setting, then click Save Settings.