Inserting Hardware Modules

Contents
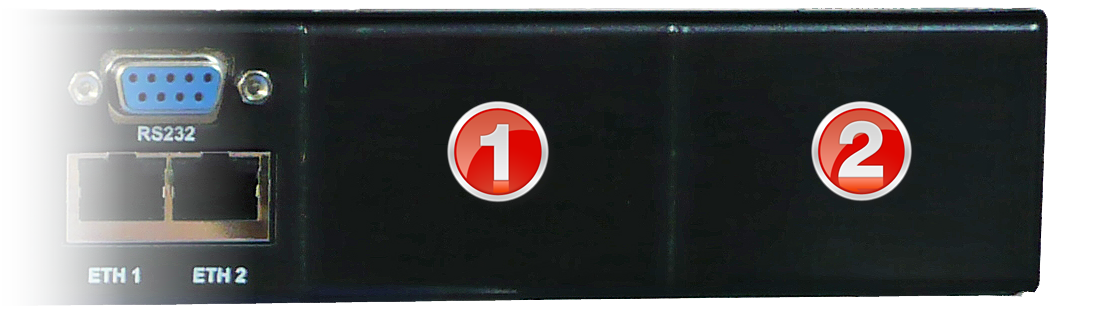
Two slots are available for inserting optional ISDN or POTS connection modules into the codec. The module slots are numbered as follows.
Inserting or Removing a Module
|
Ensure the codec is not powered up when inserting or removing modules. Where possible use anti-static precautions to help minimize the chance of static charges damaging the highly sensitive circuitry. Do not force a module into the codec. Modules should be installed slowly and gently. |
1.Remove power from the codec and then remove the 4 screws from the blanking panel or module installed in the codec.
2.Carefully slide the new module into the module slot and ensure the base of the module remains flat during insertion, to ensure it lines up correctly with the module connector within the codec.
3.Reinsert the 4 screws to hold the module firmly in place.
4.Power up the codec.
5.Press the SETTINGS ![]() button to verify it is installed correctly.
button to verify it is installed correctly.
6.Navigate to Modules and press the ![]() button.
button.
7.The newly installed module should be visible as Module 1 or Module 2.
|
Important Note: If the module does not appear in the Modules menu in the codec, it is possible that the connector on the module has not lined up correctly with the connector inside the codec. Remove the module and reinsert it carefully to resolve this issue. |