|
Important Notes: •The following procedure will create a custom peer-to-peer connection program using the codec front panel keypad and navigation buttons. It instructs how to connect your codec over IP for the very first time without using the Toolbox web-GUI and your computer for configuration. •See the HTML5 Toolbox Web-GUI Introduction for details on configuring connections remotely via a computer. •See Installing the Codec at the Studio for valuable information about installing your codec, negotiating firewalls and port forwarding. •See Tips for Creating Reliable IP Connections for a range of IP information to assist with setting up IP services for your codecs. •See Testing IP Network Connections to learn how you can test and verify the reliability of your IP connection. |
1.Press the  button and right
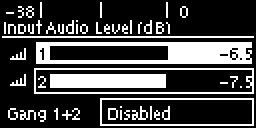
  navigation button to open the Input Audio Level adjustment screen and adjust audio levels.
•Press  on the numeric KEYPAD to toggle channel 1 on and off and press
  to toggle channel 2 on and off.
•Use the up  and down
  navigation buttons to select Gang 1 + 2 and press the
  button to toggle ganging on/off.
•Use the up  and down
  navigation buttons to select a single channel, or ganged channels. Note: A channel is highlighted when selected.
•Use the left  and right
  navigation buttons to adjust the input levels up or down.
|
Important Note: 15 volt phantom power is not supplied to input 1 by default. To adjust this setting select Settings, then Audio and then Phantom. Press the OK button to toggle between Disabled and Enabled. |
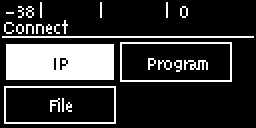
2.Press the HOME  button to return to the Home screen, select Connect and press the
  button, then select IP and press the
  button.
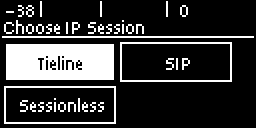
3.Select your preferred IP Session mode. In this Peer-to-Peer connection example we have selected Tieline, which uses Tieline session data, then press the  button. Note: Select SIP or Sessionless if these connections are required.
4.Use the numeric KEYPAD to enter the IP address of the codec you want to dial, using the  or
or  buttons to enter the periods in the IP address. Use the RETURN
  button to delete numbers already entered. Next, press the down
  navigation button to select Setup and press
  .
.
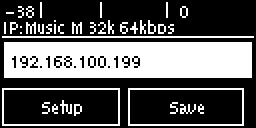
|
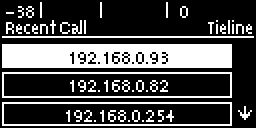
Important Note: The codec remembers recent IP addresses just like a cell-phone. To view these addresses just press the OK button when you select the Connect IP screen. The most recent addresses and programs are listed first and you can use the navigation buttons to scroll up and down. Press the OK button to select the address you have highlighted.
|
5.Press the down  navigation button to select Algor'm (algorithm) and press
  .
.
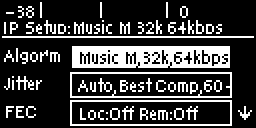
6.Use the navigation buttons to select a preconfigured algorithm profile, or manually enter algorithm settings, then press  .
.
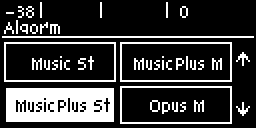
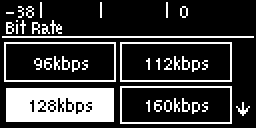
7.If you decide to manually configure the algorithm, use the navigation buttons to select your preferred sample rate (if displayed) and bit rate. Press  after selecting each option.
8.Press the down  navigation button to select Jitter (jitter buffer) and press
  to select a different automatic jitter buffer setting for your connection. Alternatively you can enter a fixed jitter buffer value in milliseconds (maximum 5000 ms). The default Auto, Best Compromise setting is a good starting point for most internet connections.
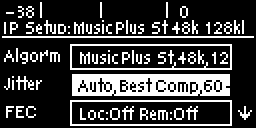
9.Press the down  navigation button to select FEC and press
  to view selection options. Use the navigation buttons to select the FEC percentage you want to use and press
  .
.
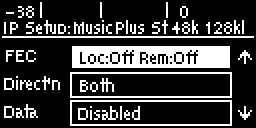
When configuration is complete press the RETURN  button to navigate backwards to the IP dialing screen that the IP address was entered into.
|
Important Note: At this point you can navigate to Save on the IP dialing screen and press |
10.Press the CONNECT  button to make a connection. The Wait Connecting screen appears during the connection process.

After successfully connecting the codec will display connection details. Use the down  navigation button to view connection Status and press
  to view connection statistics for IP packets being sent over the connection. To negotiate higher bit-rates press
  then 3 on the numeric KEYPAD; for lower bit-rates press
  then 9.

