
The codec has multiple IP interface connection options, including:
1.LAN1 Ethernet port (default Primary Via interface in the Dialer  )
)
2.LAN2 Ethernet port (default Secondary Via interface in the Dialer )
3.Internal Wi-Fi (default Tertiary Via interface in the Dialer )
4.External USB PORT 1.
5.External USB PORT 2.
Use the Select Via interfaces screen in the Dialer to select the interface used when establishing a connection. By default Any is selected, which means the first available interface will be used to dial a connection. To connect over a LAN, attach an Ethernet cable to either LAN1 or LAN2 on the codec.
Connecting a Wi-Fi Access Point
To connect the codec to a Wi-Fi network access point:
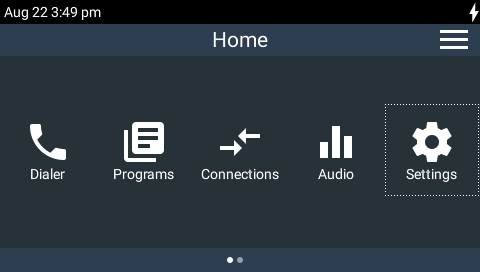
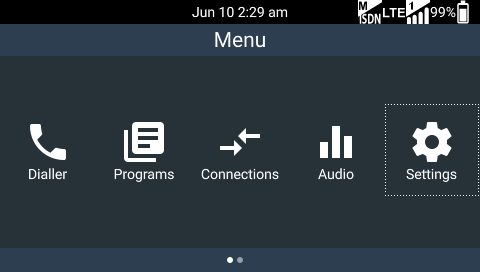
1.Press the HOME ![]() button to return to the Home screen, then tap Settings
button to return to the Home screen, then tap Settings  .
.
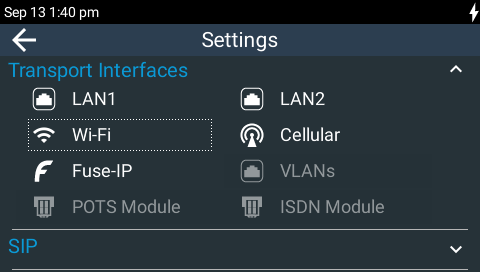
2.Tap to select Transport Interfaces and then tap Wi-Fi  .
.
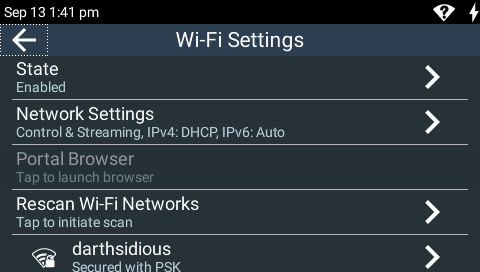
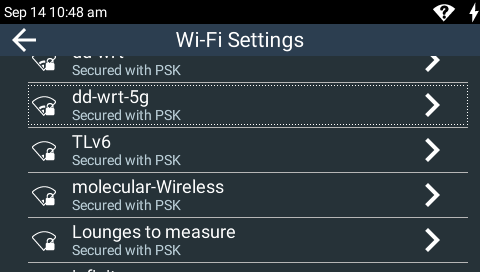
3.Ensure the Wi-Fi State is Enabled and tap Rescan Access Points if the required Wi-Fi network is not populated in the access point list.
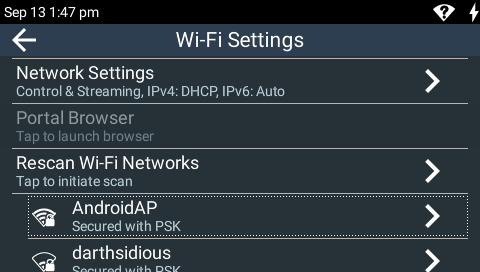
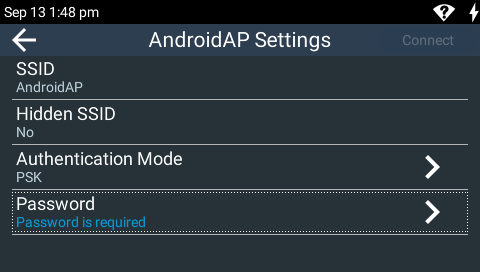
4.Tap to select the Wi-Fi access point to which you are connecting, in this example AndroidAP.
5.Tap to select the preferred Authentication Mode and then tap Password to enter the network password.
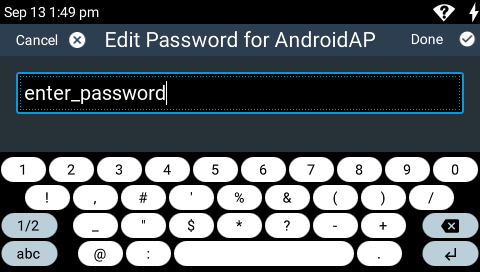
6.Enter the password, then tap Done in the top right-hand corner of the TOUCH SCREEN.
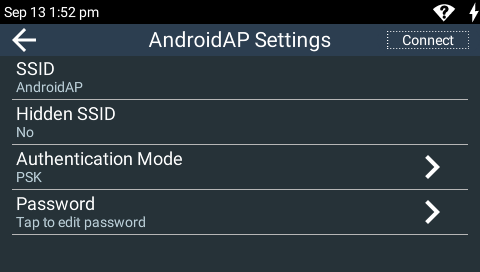
7.Tap Connect in the top right-hand corner of the TOUCH SCREEN to connect to the Wi-Fi network.
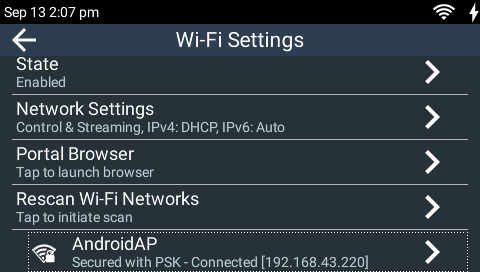
8.Verify the Wi-Fi symbol is visible in the Status Bar to confirm the codec has connected to the Wi-Fi access point.
|
Important Note: ViA supports IEEE 802.11 a/b/g/n Wi-Fi with dual band connectivity (2.4 and 5 GHz). For increased security Tieline has implemented the WPA2-PSK authentication protocol because standard WEP encryption is less secure. |

Wi-Fi Indications
The following Wi-Fi indications are displayed in the Status Bar on the codec screen.
|
Symbol |
Description of Status |
1 |
No symbol displayed |
Wi-Fi is disabled in the codec
|
2 |
|
•Wi-Fi is enabled in the codec, but it is out of range of a Wi-Fi network, or •The codec is within range of a Wi-Fi network, but is either not connected or is in the process of connecting |
3 |
|
The codec is connected to a Wi-Fi network and signal strength is displayed |


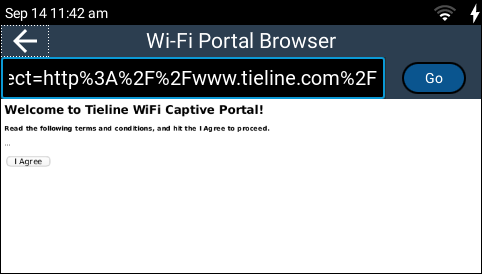
Browser Wi-Fi Login
Some Wi-Fi networks require a browser to log in and connect to the access point, e.g. hotel Wi-Fi networks. To log in to this type of network:
1.Press the HOME ![]() button to return to the Home screen, then tap Settings > Transport Interfaces > Wi-Fi .
button to return to the Home screen, then tap Settings > Transport Interfaces > Wi-Fi .
2.Tap to select the network to which you are connecting.
2.Tap to select Portal Browser to launch a web-browser on the TOUCH SCREEN. Then enter credentials and/or accept terms as required in the web-browser.

|
Helpful Hint: Use fingers on the TOUCH SCREEN to pinch zoom in to web-browser content, or zoom out. |

Connecting over Cellular Wireless via USB Modems
1.Attach a supported USB Modem to either USB PORT 1 or USB PORT 2 on the codec. When the modem is detected by the codec, the network symbol and signal strength is displayed in the Status Bar on the TOUCH SCREEN. Note: It may take up to 90 seconds for the modem to be detected by the codec and connect to the network.
2.From the Home screen tap Settings > Transport Interfaces > Cellular  > USB1/2 Modem to view cellular details.

|
Important Notes: •It may be necessary to manually add an Access Point Name (APN) if the codec cannot connect automatically to the network. See Adding Cellular Access Points for more details. •To safely remove a USB modem press the HOME |

USB Cellular Modem Indications
|
Symbol |
Description of Status |
1 |
No symbol |
•A cellular modem is not attached to the codec. •A modem is attached but not ready yet; it can take up to a minute for the modem to be detected. •The modem has a SIM card issue (locked or not present). •The modem is not supported by the codec. |
2 |
|
Each USB port is identified by the number 1 or 2 in the top-left corner of the symbol. |
3 |
|
A cellular modem is attached to the codec but there is an error. Check that: •The SIM card does not have a PIN code enabled. •The modem has data enabled. •The modem is compatible with the network to which you are attempting to connect. |
4 |
|
The cellular modem is connected to the network and signal strength is displayed. Note: when first attached the symbol is greyed out while the modem is connecting to the cellular network. It will remain greyed out if: •Data is not enabled. •No APN is selected and the modem doesn't contain a correct APN setting from a factory default or previous connection. •An incorrect APN is selected. When using different SIMs they may require different APNs, even if they are from the same Telco. •The correct APN is selected but data has run out. |


