
|
Important Notes: •See Configuring AES3 and AES42 Input Audio for more info on digital input sources. Input audio functions can also be configured using the HTML5 Toolbox Web-GUI (see Configuring Input/Output Settings). •Turn off all unused inputs to avoid additional noise in program audio. |

Adjusting Analog Input Levels
Analog inputs 1-3 can be adjusted in two ways:
1.Coarse input gain via the Input Config screen.
2.Finer input level control via the INPUT GAIN rotary encoder.
|
Important Note: Input 1 on the codec supports a mic or line level analog source, or AES3 (AES/EBU) format digital audio, or an AES42 digital microphone. |
|
VOLTAGE WARNINGS: 1.DO NOT attach non-digital microphones or an AES3 source to input 1 when AES42 input mode is selected, or equipment may be damaged by high voltages supplied in this mode. See Configuring AES3 and AES42 Input Audio for more info. 2.Do not attach an unbalanced input source (e.g. smartphone) to an analog XLR input if phantom power is enabled, or it may damage the connected device. Tieline recommends using an unbalanced to balanced converter to avoid damaging connected equipment. |

To adjust coarse input gain:
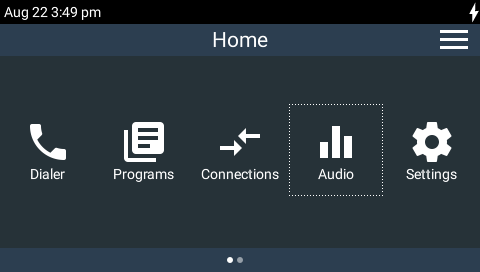
1.Press the HOME ![]() button to return to the Home screen, then tap Audio
button to return to the Home screen, then tap Audio  .
.
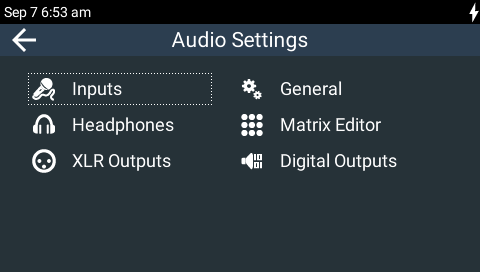
2.Tap Inputs  .
.
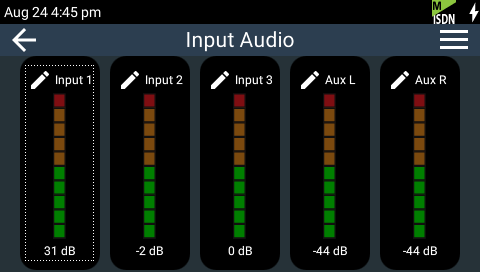
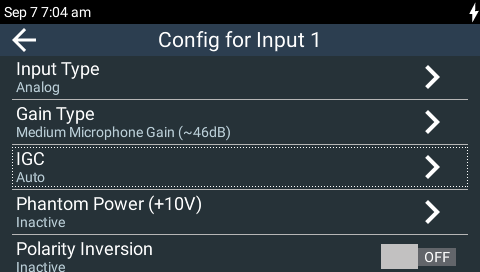
3.Tap to select the input you want to configure.
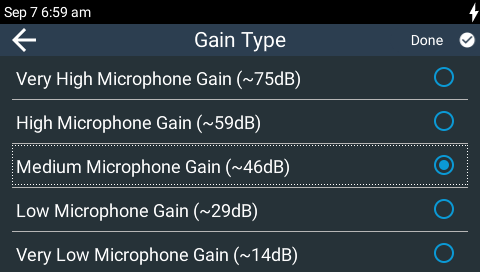
4.Tap to select Analog as the Input Type and tap to select Gain Type.
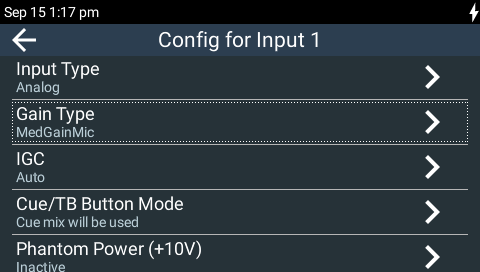
5.Tap to select the correct gain setting, or tap Save to keep the existing setting. There are 5 mic level settings as well as Unbalanced and Line level menu options.
Use the INPUT GAIN rotary encoders to make fine adjustments to input levels. Levels are indicated on PPM LEDs surrounding each INPUT GAIN rotary encoder. The current gain setting is indicated by a single PPM LED illuminated around the INPUT GAIN rotary encoder while it is being adjusted. More precise input audio levels are also indicated at the bottom of the TOUCH SCREEN. See PPM Meters and Analog Audio Outputs for more info.
IGC (Intelligent Gain Control)
When the broadcast action really starts to heat up, the codec's inbuilt DSP limiter automatically takes care of any instantaneous audio peaks that occur in demanding broadcast situations. IGC (Intelligent Gain Control) is enabled by default and is automatically activated at +20 dBu (G5 audio scale) and +14dBu (G3 audio scale) to prevent audio clipping.
1.Press the HOME ![]() button to return to the Home screen, then tap Audio > Inputs > [tap to select an input] > IGC.
button to return to the Home screen, then tap Audio > Inputs > [tap to select an input] > IGC.
2.Tap to select IGC. There are three settings; Auto, Fixed and Off.
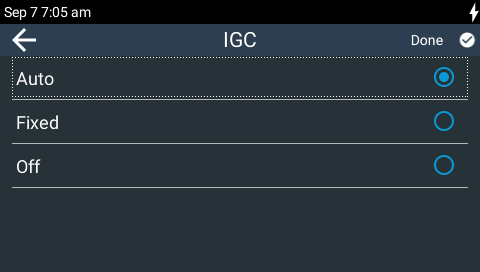
In the default Auto mode, the codec detects when incoming audio levels have reduced sufficiently after IGC has been activated and automatically returns input levels to the gain setting prior to IGC being activated. The codec takes just 250 milliseconds to detect audio levels have returned to normal after IGC has been initiated, and returns levels to the previous setting within half a second. This response is linear. In addition, the INPUT ON/OFF button will flash while IGC auto leveling is activated.
In Fixed mode, audio levels are automatically adjusted downwards until they are acceptable. The input level remains at this point until the INPUT GAIN rotary encoder is readjusted by the user. In addition, the INPUT ON/OFF button will flash until the rotary encoder is adjusted. AGC is also available on codec outputs. See General Audio Settings for more details.
Phantom Power Settings
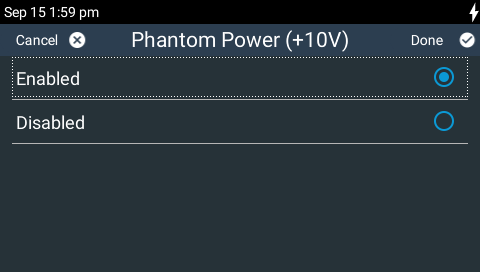
Phantom power can be enabled or disabled when inputs 1-3 are in analog mic level input mode (default setting disabled). Phantom power of 10V or 48V is supplied to all inputs when enabled. The default setting is 10V and the currently configured voltage is displayed in brackets next to Phantom Power in the Input Config screen.
|
VOLTAGE WARNING: Check the specifications of all microphones attached to the codec to ensure they will not be damaged by either 10V or 48V phantom power supplied by the codec inputs. |
Enabling Phantom Power
1.Press the HOME ![]() button to return to the Home screen, then tap Audio > Inputs > [tap to select an input] > Phantom Power.
button to return to the Home screen, then tap Audio > Inputs > [tap to select an input] > Phantom Power.

2.Tap Enabled to activate phantom power on the selected input.
Adjusting Phantom Power Voltage
1.Press the HOME ![]() button to return to the Home screen, then tap Audio > General
button to return to the Home screen, then tap Audio > General  > Phantom Power Voltage.
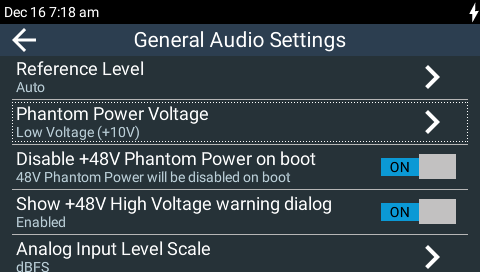
2.Tap to select the correct voltage to suit the microphone you are using.
|
Important Note: The same phantom power voltage is applied across all compatible inputs. See General Audio Settings for more information about: •Adjusting Phantom Power Voltage. •Disabling phantom power each time the codec reboots (default On). •Displaying phantom power warning dialogs (default On). |
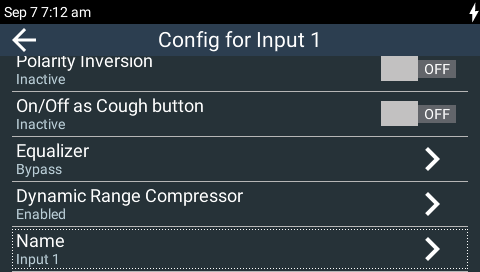
Polarity Inversion
Polarity Inversion inverts the polarity of an input when it is enabled.
1.Press the HOME ![]() button to return to the Home screen, then tap Audio > Inputs > [tap to select an input] > Polarity Inversion.
button to return to the Home screen, then tap Audio > Inputs > [tap to select an input] > Polarity Inversion.
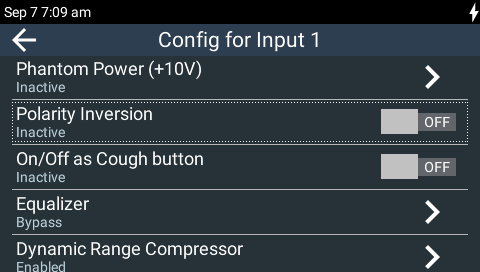
2.Tap the On/Off button to toggle between enabling and disabling Polarity Inversion (default setting Off).
On/Off as Cough Button
Each INPUT ON/OFF button can be configured as a cough button. When On/Off as Cough Button is enabled on an input, press the INPUT ON/OFF button to mute the input for the duration of the button press.
1.Press the HOME ![]() button to return to the Home screen, then tap Audio > Inputs > [tap to select an input] > On/Off as Cough Button.
button to return to the Home screen, then tap Audio > Inputs > [tap to select an input] > On/Off as Cough Button.
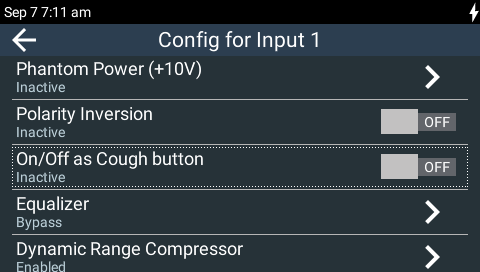
2.Tap the On/Off button to toggle between enabling and disabling On/Off as Cough Button (default setting Off).
Equalizer
Each input has a 10 band graphic equalizer for adjusting EQ settings. To adjust EQ:
1.Press the HOME ![]() button to return to the Home screen, then tap Audio > Inputs > [tap to select an input] > Equalizer.
button to return to the Home screen, then tap Audio > Inputs > [tap to select an input] > Equalizer.
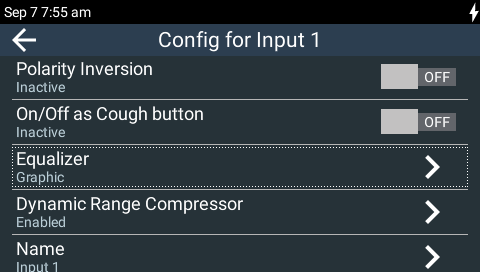
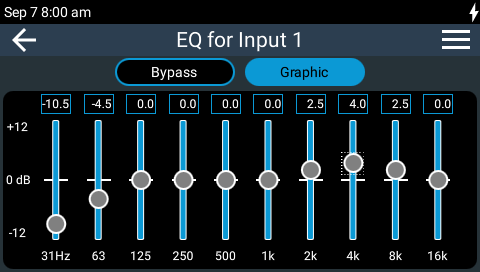
2.Tap a slider and swipe up and down the TOUCH SCREEN to boost or cut EQ at each frequency, or use the NAVIGATION buttons to select and boost or cut EQ in gradual increments.
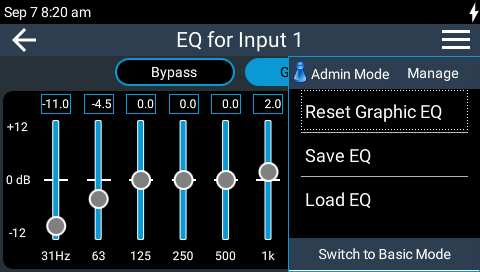
3.Tap Menu  to select from available options, which include: Reset Graphic EQ (to defaults); Save EQ settings; Load EQ from a saved EQ configuration.
Compressor
Each input has an adjustable dynamic range compressor. To adjust input compression:
1.Press the HOME ![]() button to return to the Home screen, then tap Audio > Inputs > [tap to select an input] > Dynamic Range Compressor.
button to return to the Home screen, then tap Audio > Inputs > [tap to select an input] > Dynamic Range Compressor.

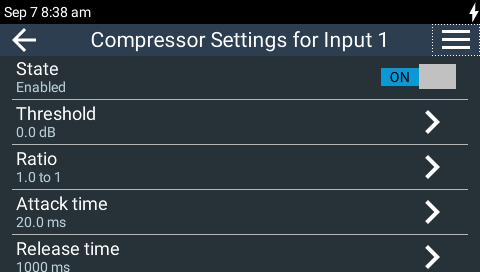
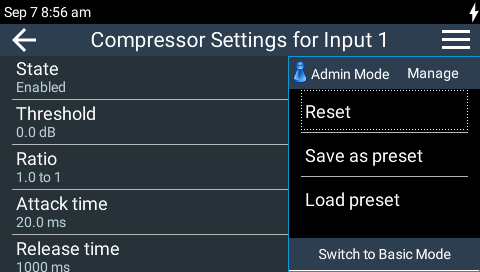
2.Tap to adjust each setting as required. Tap Menu to select from available options, which include: Reset settings (to defaults); Save as preset; Load preset from a saved file.
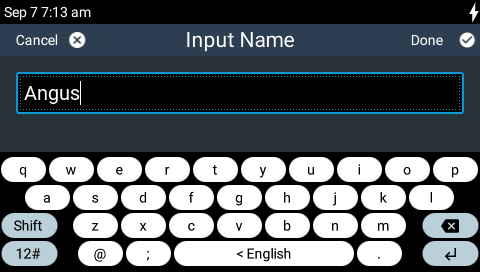
Rename an Input
Inputs 1-3 and the auxiliary input can be renamed as required.
1.Press the HOME ![]() button to return to the Home screen, then tap Audio > Inputs > [tap to select an input] > Name.
button to return to the Home screen, then tap Audio > Inputs > [tap to select an input] > Name.
2.Use the on-screen keyboard to enter the new input name, then tap Done in the top right-hand corner of the TOUCH SCREEN.
Auxiliary Input/Output Options
There are 3 stereo auxiliary input and 2 stereo auxiliary output options available in the codec:
•An analog stereo line input via 1/8" (3.5mm) TRS jack.
•A stereo S/PDIF input and output via RCA connectors, supporting 32kHz, 44.1kHz and 48kHz sample rates.
•USB audio input and output via a micro USB connector.
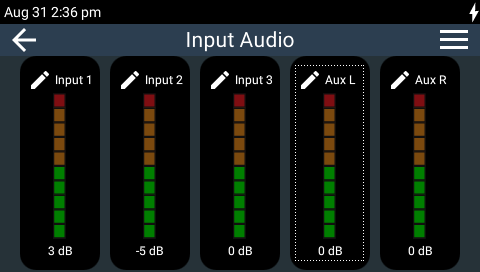
To select an input option:
1.Press the HOME ![]() button to return to the Home screen, then tap Audio > Inputs .
button to return to the Home screen, then tap Audio > Inputs .
2.Tap to select the Aux input you want to configure.
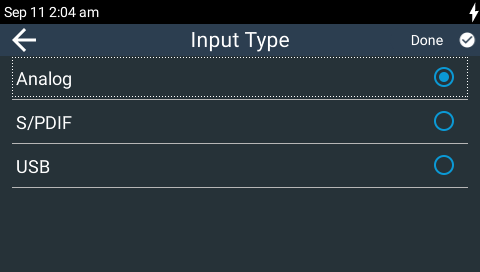
3.Tap to select Input Type.
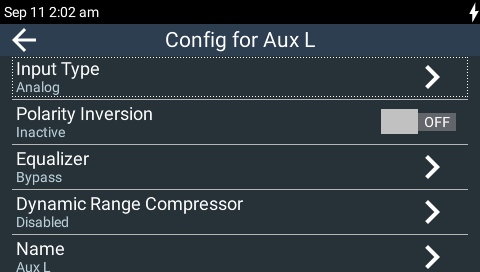
4.Tap to select your preferred auxiliary Input Type, or tap Done to keep the existing setting.
|
Important Notes: •There is a maximum of 6dB of additional gain available when adjusting a digital auxiliary input. •Press the INPUT ON/OFF button to turn the auxiliary input Off if you are not using it. This reduces any unwanted additional noise in program audio. •The codec should be detected by a Windows PC and drivers should update automatically when attached to a USB port for audio playback. If not, select Start button > Control Panel > Device Manager > Universal Serial Bus Controllers. Then right-click USB Composite Device and select Update Driver Software. •On Mac OS X El Capitan v10.11 or macOS Sierra v10.12: Open "System Preferences", then select "Sound", then select "Output." Select "Tieline G5 ViA Digital Audio" as the output source. |
Other Auxiliary Input Options
Other input options available include:
1.Polarity Inversion: Tap the On/Off button to toggle inversion of the selected input (default Off).
2.Equalizer: A 10 band graphic equalizer is available on both the left and right auxiliary inputs.
3.Dynamic Range Compressor: Both the left and right auxiliary inputs have an adjustable dynamic range compressor.
4.Name: Customize the auxiliary input name displayed.
