Livewire is a proprietary AoIP system developed by the Telos Alliance and Livewire+ AES67 is the second generation of Livewire which is AES67-compliant. Tieline codecs from firmware release v3.06.xx can interface natively with Livewire and Livewire+ AES67 systems over an AES67 LAN. This facilitates codecs supporting Livewire+ stream discovery and advertisement, as well as GPIO and Program associated data. For details on Livewire clock settings see the Clocking section of this manual.
Enabling Livewire+ in the Codec
To configure the codec to use Livewire+:
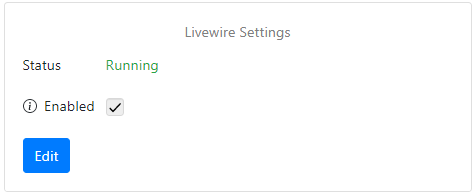
1.Open the AoIP Web-GUI and select Services to display the Services panel.
2.Click Edit in the Livewire Settings panel to adjust settings. Note: Click Change Password to enter a Livewire password.
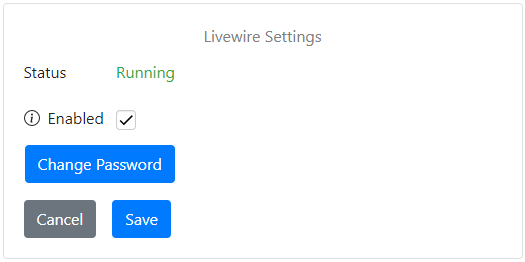
3.Select the Enabled check-box and then click Save. Note: It can take up to a minute for Livewire to start running.
|
Important Note: It is not possible to enable Livewire as a service if the sample rate is not configured as 48kHz. |

Configure the Codec for Livewire Streaming
Before streaming audio from the codec using Livewire+ it is necessary to configure the AoIP mode correctly.
1.Open the HTML5 Toolbox Web-GUI and click Settings at the top of the screen, then click Audio to display the Audio Options panel.
2.Click Edit to adjust settings.
3.Click the drop-down menu for Audio over IP Mode and select Native AoIP Protocols.
4.Click Save.
Configuring a Codec for Use with Pathfinder
Pathfinder Server communicates with all Livewire system nodes and supports virtual routing, audio metering, silence detection, and Livewire GPIOs. Livewire systems can also be controlled using Pathfinder PC.
Adding a Tieline Codec to Pathfinder Server
When you attach a new codec to your network you need to add it using Pathfinder Server. Ensure that it has been added to Pathfinder Server.
1.Launch Pathfinder Server software.
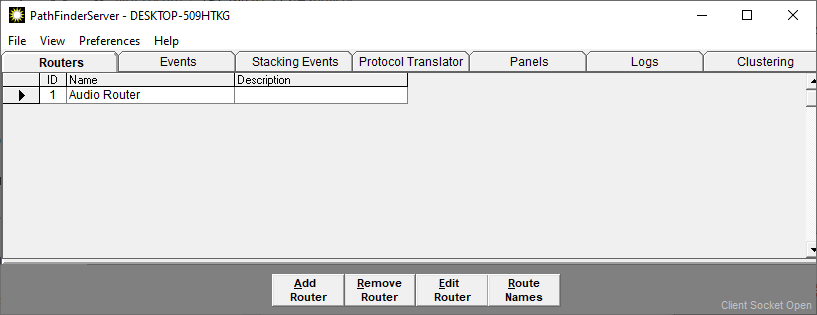
2.Click Edit Router and select Next.
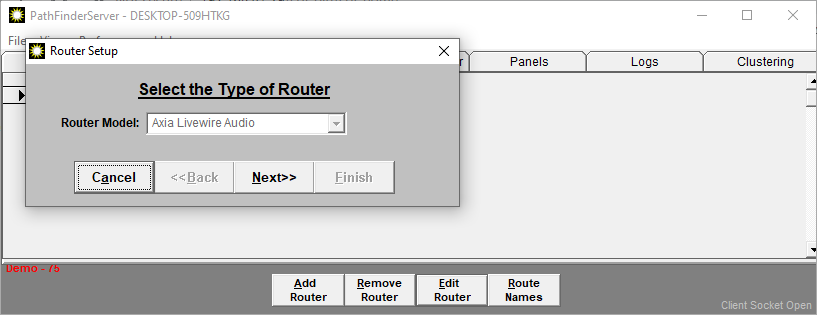
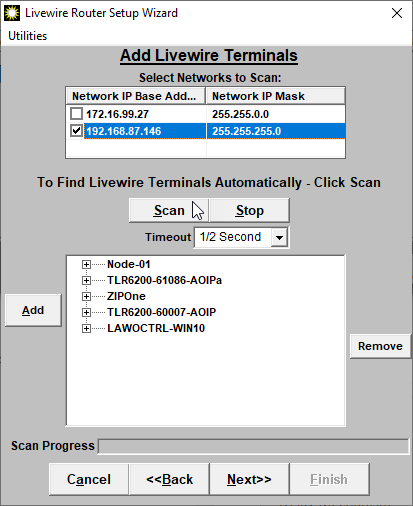
3.Click Next again and select the Network to Scan, then click Scan.
|
Important Note: Ensure Livewire is enabled in the Services panel of each codec before performing a network scan.
|
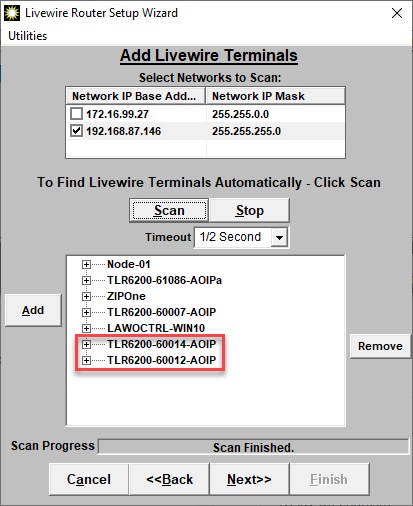
4.Pathfinder Server will scan the AoIP network for new devices and any detected will be displayed (codec model and serial number), then click Next. Note: If devices are not automatically detected click Add to manually add them into Pathfinder Server.
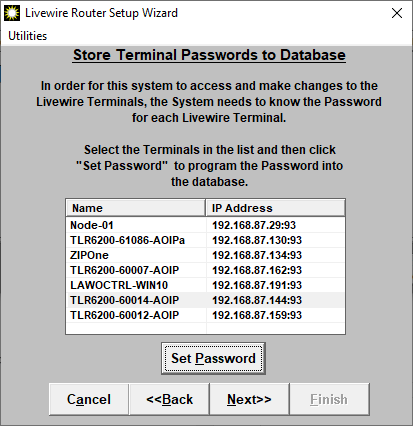
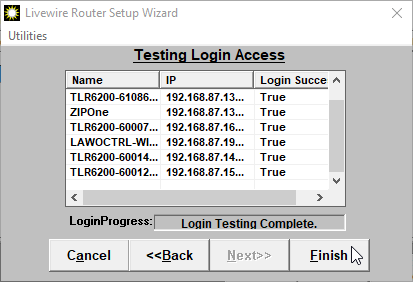
5.Set the passwords for each new device, then click Next. and then Finish in the Testing Login Access dialog.
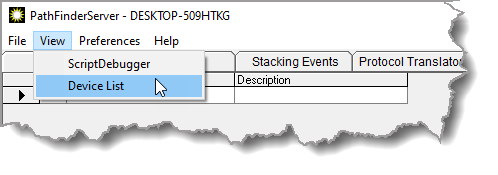
6.To double-check that the codec has been added to Pathfinder Server select View > Device List.
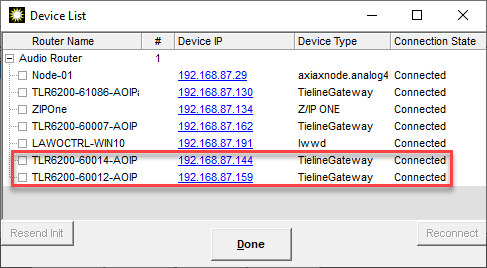
7.In the following image the newly added codecs display as "TielineGateway".
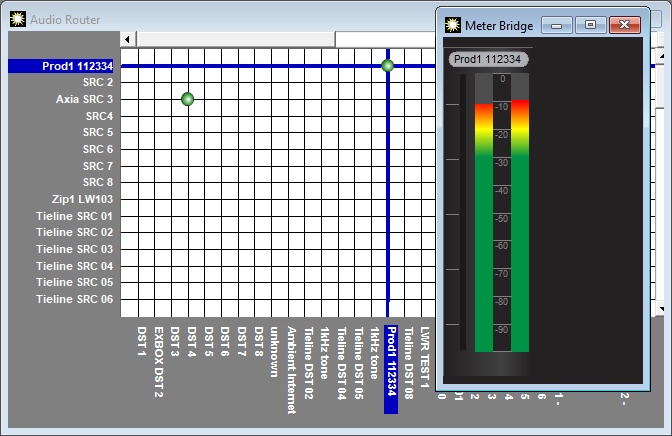
Using Pathfinder PC
After adding your codec to Pathfinder Server, launch Pathfinder PC and select File > Connect to Server and click Connect.

It should now be possible to route Sources and Destinations through the codec using PathfinderPC.