The program Scheduler is a powerful tool which facilitates automatically connecting and disconnecting programs using a simple calendar-based user interface. Key features include:
•Drag and drop to add programs into the scheduler.
•Automatically load and unload programs.
•Automatically connect and disconnect individual audio streams, including editing stream settings like IP address, port and encoding details.
•Drag the top or bottom of a scheduled program to adjust the scheduled time.
•Customization of time-zones displayed in the scheduler.
•Day, week, month, list and timeline views available.
•View a list of scheduled upcoming 'events' in a separate panel.
•Enable and disable scheduled events in a snap.
Scheduler Overview
There are several panels associated with the Program Scheduler:
1.Scheduler: Create and manage scheduled "events."
2.Scheduler Events: View a list of all scheduled events.
3.Scheduler History: View previously scheduled events.
|
Important Notes: •A program attempts to dial and connect at the scheduled event start time. Allow enough dial time when scheduling events. •Allow sufficient time to disconnect and dial between consecutive events. •A scheduled event will fail if a program is already connected. •Consider configuring events in UTC time during daylight saving transitions to simplify set up. •Events shorter than 15 minutes display a 15 minute time slot in the scheduler to enhance event visibility. |

Scheduling New Events
To launch the Event dialog and schedule a new program event:
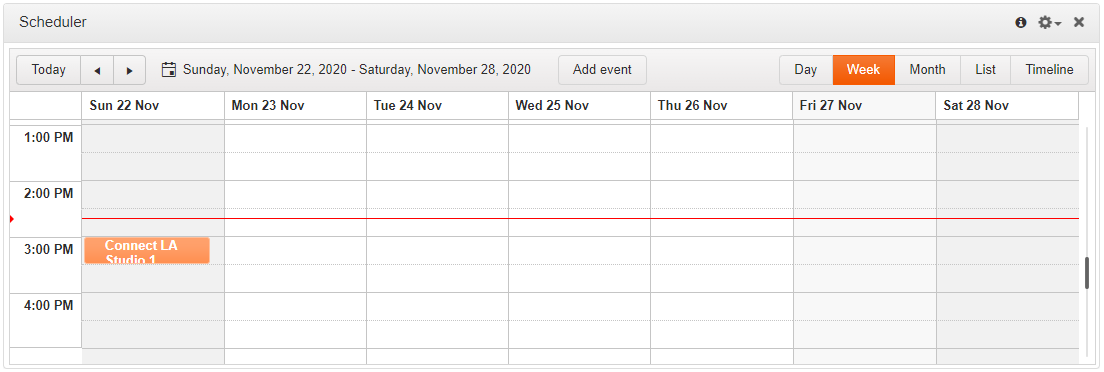
1.Open the HTML5 Toolbox Web-GUI and click Connect in the Menu Bar, then select Scheduler to launch the Scheduler panel.
2.To add a new event click the Add event button in the Scheduler panel, or navigate to a day and time in the Scheduler panel and double-click when you want the programmed event to commence.
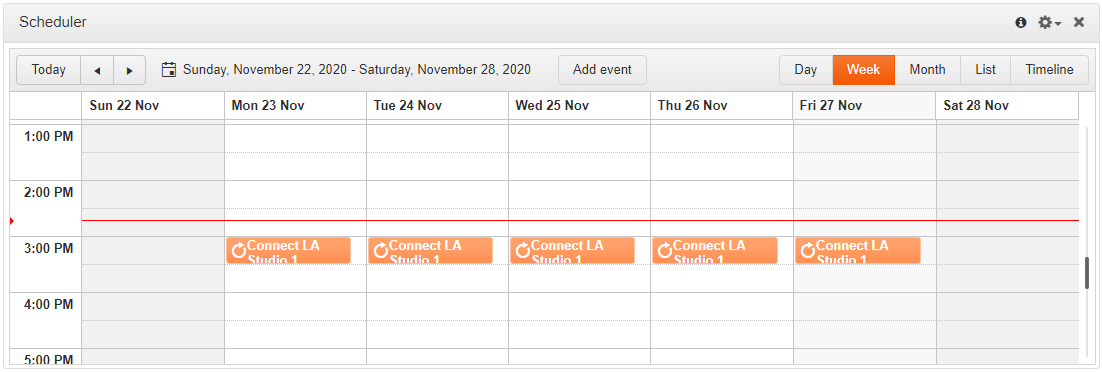
3.Add a Title, select a Task, Program and Edit Stream settings as required. Adjust the Start and End time for each event. It is also possible to adjust the frequency of an event, e.g. daily, weekly or monthly.
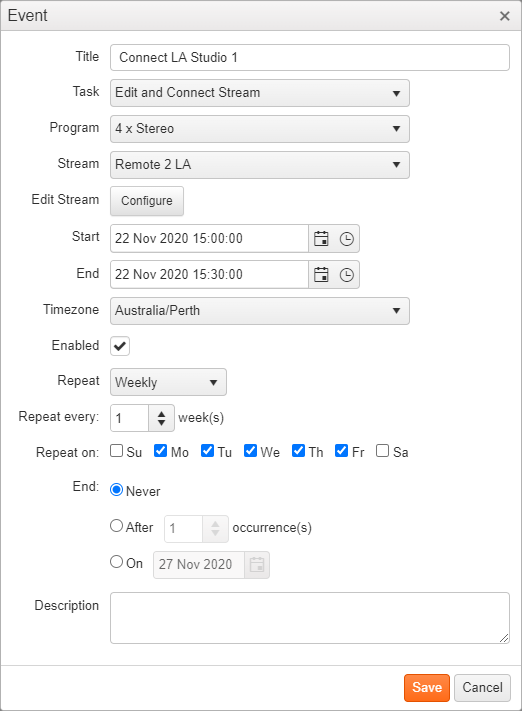
4.Click Save to add the new event to the Scheduler panel.
Edit or Delete an Event
1.Double-click an event displayed in the Scheduler panel to open the Event dialog.
2.Two options are presented if the event is a recurring event:
•Edit the current event you have selected, or
•Edit all events in the series.
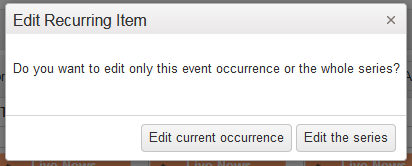
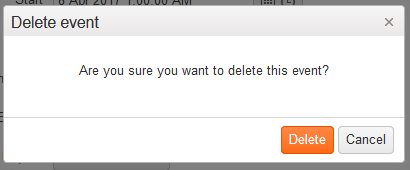
3.Select the preferred option and edit settings in the Event, then click Save to store all changes. Click Delete to delete an Event.
4.A confirmation dialog is presented to confirm the deletion of an event.
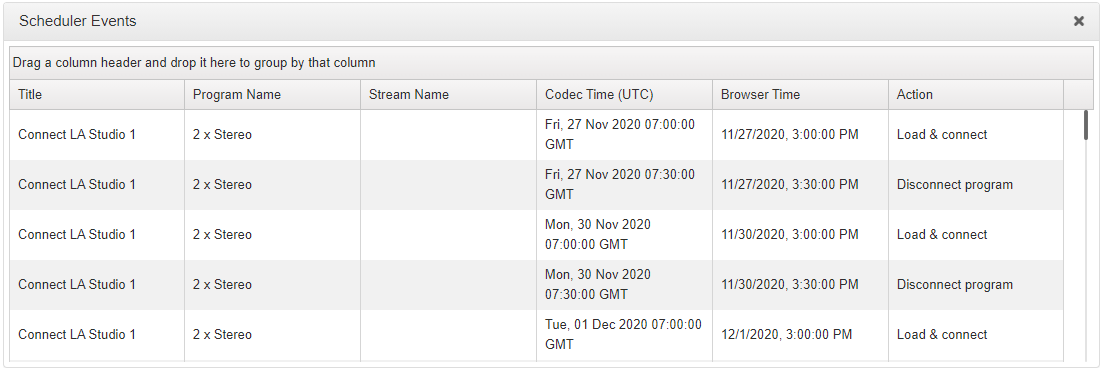
View Scheduler Events
To view all scheduled events click Connect in the Menu Bar, then select Scheduler Events to launch the Scheduler Events panel. Use the scroll bar to view future events.
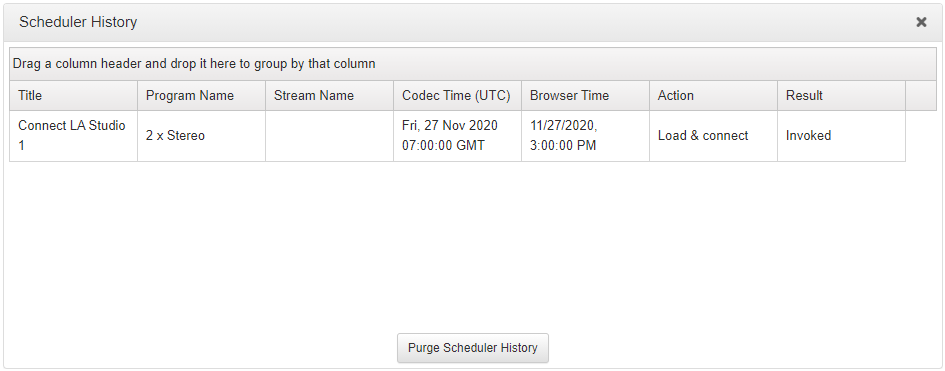
View Event History
To view the history of scheduled events in a codec click Connect in the Menu Bar, then select Scheduler History to launch the Scheduler History panel. Press the Purge Scheduler History button to delete all events listed.
Other Scheduler Options
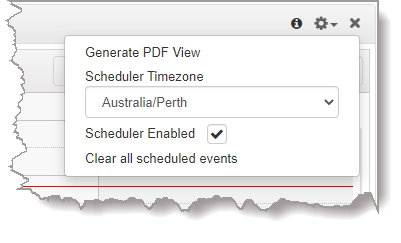
Click the Options symbol  in the top right-hand corner of the Scheduler panel to reveal a drop-down menu displaying other available options, including:
1.Generate a PDF view of scheduled events.
2.Adjust the Scheduler Timezone.
3.Enable / Disable the Scheduler.
4.Clear all Scheduled Events.