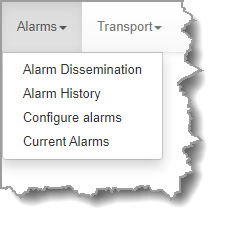
Open the HTML5 Toolbox Web-GUI and click Alarms in the Menu Bar to open and view panels used to configure and monitor a range of alarms.
Configure and Enable Alarms
1.Open the HTML5 Toolbox Web-GUI and click Alarms, then select Configure alarms to open the panel.
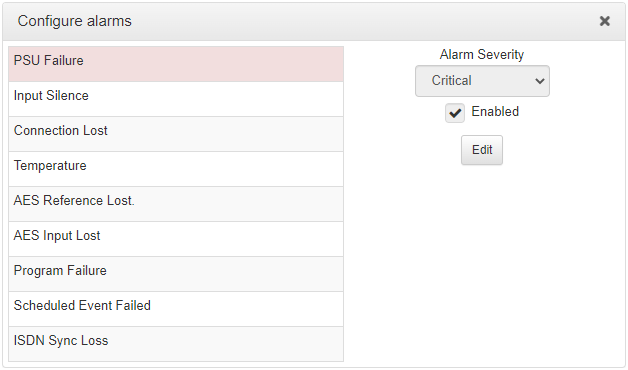
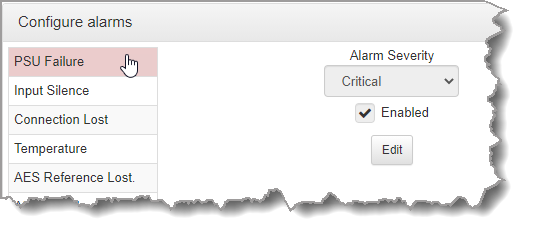
2.Click to select an alarm from the list on the left side of the panel.
3.Click Edit to configure alarm settings.
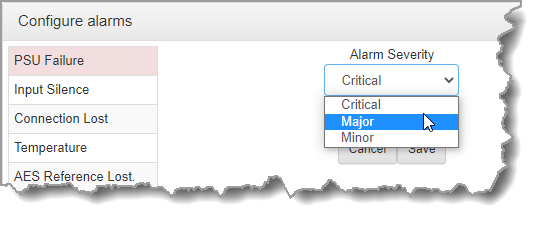
4.Click the Enabled check-box to activate the alarm and then select an Alarm Severity level from the drop-down menu.
5.Click Save to store the new settings.
Note: The following System and Audio alarms are available:
Alarm |
Alarm Type |
Explanation |
PSU Failure |
System |
Raises an alarm if one or both PSUs fail |
Input Silence |
Audio |
Raises an alarm if input audio is lost based on whether silence is detected on a single input, or pair of inputs (according to preconfigured silence detection threshold parameters) |
Connection Lost |
Audio |
Triggers and alarm whenever a streaming connection is lost |
Temperature |
System |
Raises an alarm if the temperature is too low or too high |
AES Reference Lost |
Audio |
Raises an alarm if the AES reference clock signal is lost (not available in WheatNet-IP capable codecs) |
AES Input Lost |
Audio |
Raises an alarm if the AES input signal is lost (not available in WheatNet-IP capable codecs) |
Scheduled Event Failed |
Audio |
A scheduled event could not be started or stopped at the specified time. Note: the alarm is only present for the duration of the event. |
ISDN Sync Loss |
Audio |
Raises an alarm if ISDN Sync is lost |
Configuring Alarm Dissemination Severity Alerts
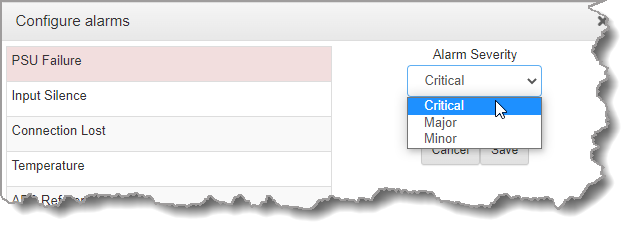
Codec alarms can be configured for three different severity levels:
1.Click to select an alarm from those displayed in the Configure alarms panel.
2.Click Edit to configure alarm settings.
3.Click the Alarm Severity drop-down menu and select the preferred severity level.
4.Click Save to store the new settings for the selected alarm.
Configuring Alarm Dissemination Severity Alerts
Alerts for each alarm severity level are configured using the Alarm Dissemination panel.
1.Open the HTML5 Toolbox Web-GUI and click Alarms, then click Alarm Dissemination to open the panel.
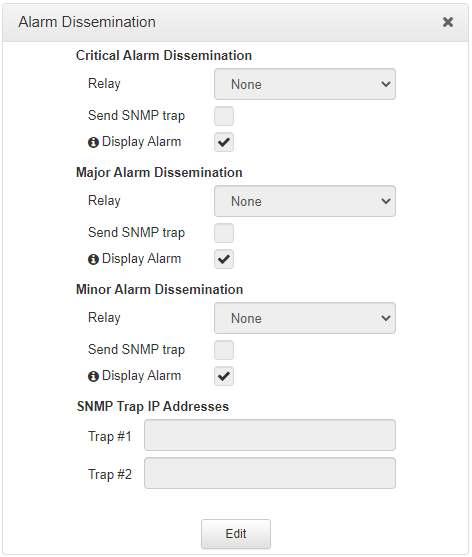
2.Click Edit to configure notification settings.
3.Select and configure relay, SNMP trap and alarm display settings for each Alarm Severity level. Enter SNMP Trap IP Addresses as required at the bottom of the panel.
4.Click Save to store the new settings.
|
Important Note: Simple Network Management Protocol (SNMP) is a protocol used to manage devices on IP networks. SNMP provides the ability to send traps (notifications or alerts), which are packets containing data relating to a system component that may be either statistic or status related. See Configuring SNMP in the Codec for more info, or ask your system administrator. |

Configuring Input Silence Detection Parameters
When configuring an Input Silence alarm it is also necessary to configure the audio silence thresholds and timeout duration.
1.Click Input Silence to select the alarm.
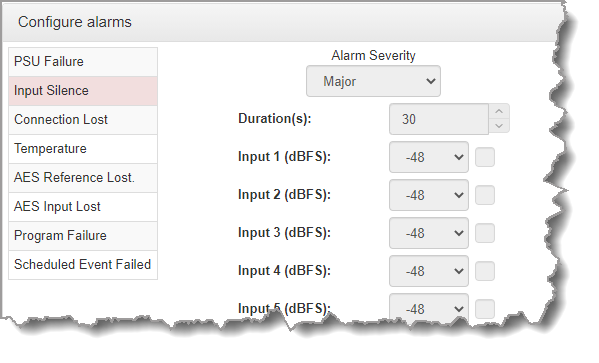
2.Click Edit to configure alarm settings.
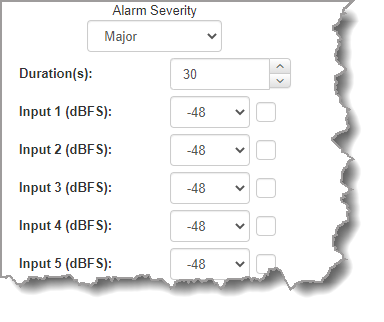
3.Configure the dBFS threshold and timeout duration in seconds and ensure the input Enabled check-boxes are selected. An alarm will be raised when these thresholds are breached.
4.Click Save to store the new input silence alarm settings.