SIP Peer-to-Peer Programs

Contents
SIP programs are like a normal IP program to configure, with two small differences; entering a SIP address and selecting SIP as the Session Protocol. The codec supports dialing over two separate SIP interfaces.
|
Important Notes: Before you start program configuration please note: •You cannot edit a program when it is currently loaded in the codec. •Some drop-down menus and settings may be greyed out intentionally depending on features available. •Failover and SmartStream PLUS redundant streaming are not available with SIP connections. •To learn more about programs see the section titled Load, Connect and Manage Programs. •If your codec is registered with same SIP registrar as the destination codec then you only need to enter the SIP user name to dial successfully. •The default UDP audio port when using SIP for a peer-to-peer connection is 5004 in Tieline codecs. To contact a codec that is behind a firewall or NAT-enabled router, it is essential that this and all other relevant ports are open and forwarded to the other device. •Tieline codecs automatically add "sip:" to the address you enter in the Address field when dialing, so it's not necessary to add this. |
Getting Started
1.Open the Java Toolbox Web-GUI and click the Programs ![]() symbol at the top of the screen to display the Programs panel.
symbol at the top of the screen to display the Programs panel.
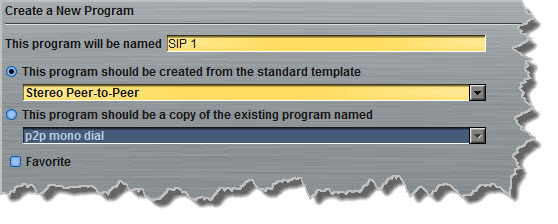
2.Click the New Program button to open the wizard and:
•Click in the Program Name text box to name the new program.
•Select Mono/Stereo Peer-to-Peer, or if you want to use an existing program as a template, select this option.
•Click to select the Favorite check-box if you want to add the new program to the list of favorites in the codec, then click Next. See Load, Connect and Manage Programs for more details.
|
Important Notes: When you choose to use an existing program as a template, the new program inherits all the settings of the template program and you can adjust these settings as required by continuing through the program wizard. |
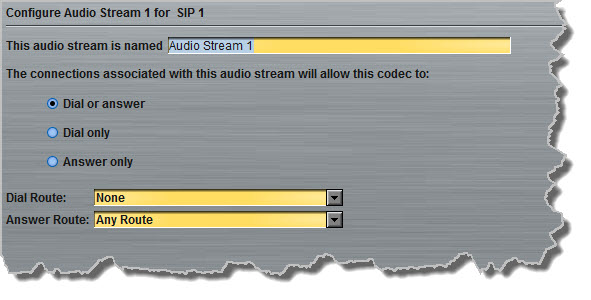
3.Enter a name for the Audio Stream and configure the codec to dial, answer or dial and answer. Then click Next.
Note: The following example will display how to configure a dial and answer program. If you want the codec to either dial or answer only, select the option and the wizard will automatically display screens to allow you to configure the codec correctly.
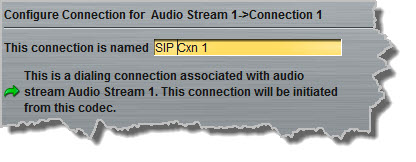
4.This audio stream connection in the wizard will allow the codec to dial. Enter the name of the connection in the text box, then click Next.
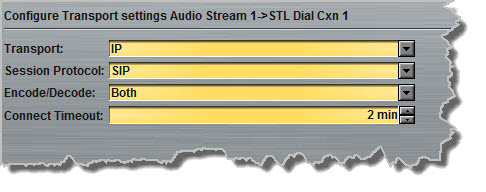
5.Follow the instructions on the right-hand side of the panel to configure the transport settings for the connection: Ensure that you select:
•IP as the Transport.
•SIP from the Session Protocol drop-down menu.
Then click Next.
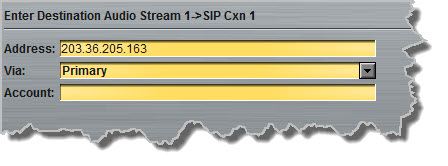
6.Configure the destination codec IP Address and then specify a network interface, e.g. Primary (LAN1), if you are dialing without using a registered SIP account. Or, select a SIP account configured in the codec as the Via, then enter the destination SIP Account to dial using a registered SIP server account.
|
Important Notes: To dial using a SIP account you first need to Configure SIP Account settings into the codec and register the account to a SIP server. This may include Configuring a SIP interface over which to dial, e.g. SIP1 or SIP2. |
At this point you can click Save Program and save the program with default algorithm and jitter settings. Alternatively, click Next to confirm and specify algorithm and jitter settings for this connection and configure backup audio settings (recommended).
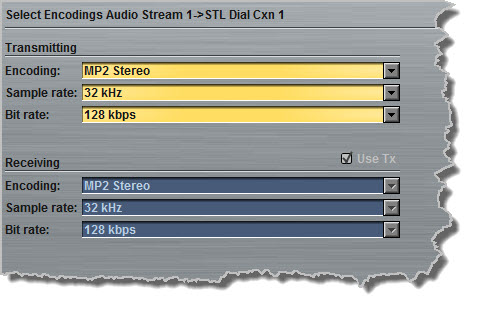
7.Click the drop-down arrows on the right-hand side of each active drop-down menu to adjust the Encoding, Sample rate or Bit rate parameters. Click Next to continue.
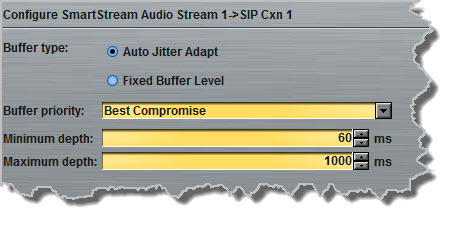
8.Click to configure:
•Auto Jitter Adapt and the preferred auto jitter Buffer Priority and Minimum depth and Maximum depth settings, or
•Fixed Buffer Level and enter the Jitter Depth, which must be between 12ms and 5000 ms depending on the algorithm you select.
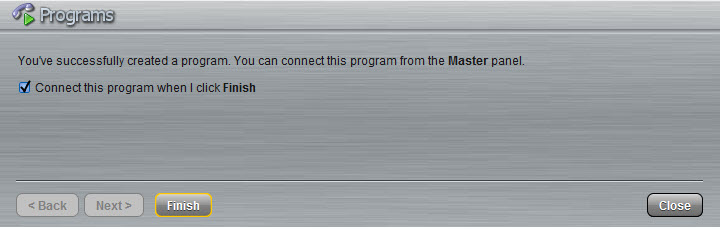
9.Click Save Program to save all settings, or click Next to configure Auto Reconnect. If you click Save Program, select the check-box if you want to connect the program immediately, then click Finish.
10.The newly created program will be displayed in the Programs panel and in the Master panel. Select and connect audio streams in a program using the Master panel, or dial the program manually using the codec TOUCH SCREEN.